DIY Glass Balcony Kit
Installation of a Dio-Met Walkout Balcony Kit
If you have a walk-out balcony requirement for your property, don't hesitate to contact us at 0114 243 9009 or sales@diometonline.co.uk. Our team of professionals is always ready to help you create the perfect solution for your space.
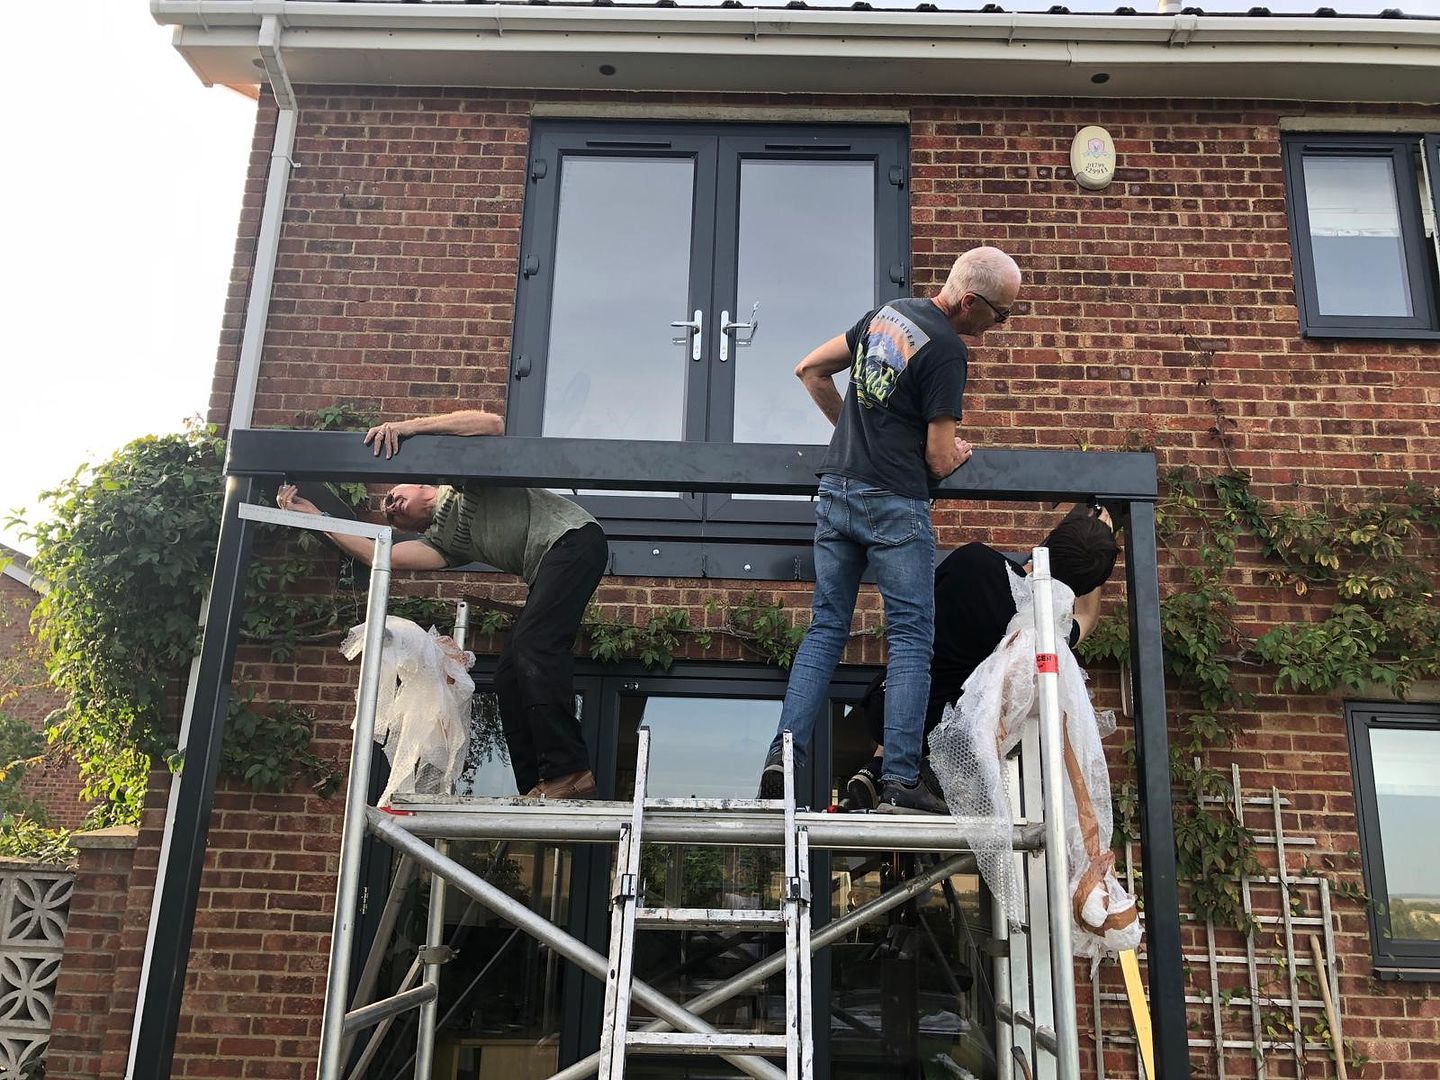
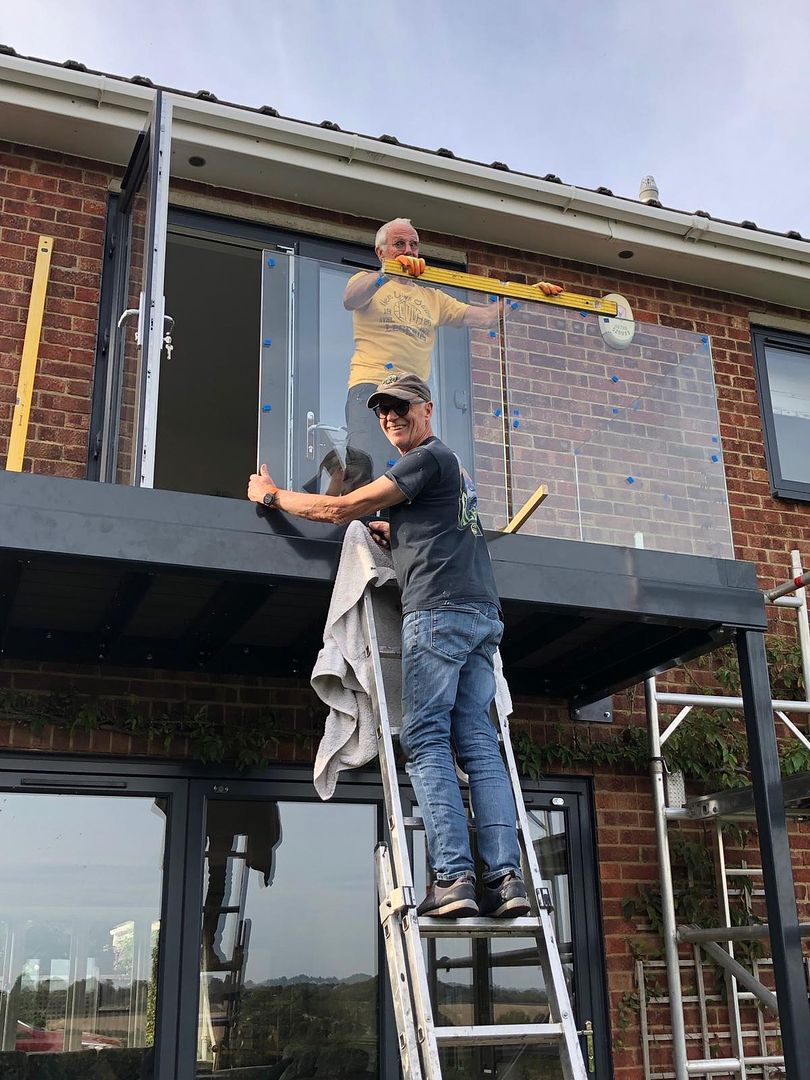
Embarking on a DIY home improvement project can be both exciting and daunting, but with the right products and a dash of skill, it's possible to transform your space remarkably. A case in point is our customer, Geoff, from Cambridge, who recently took on the challenge of installing a walkout balcony kit that he picked up from our workshop.
This particular balcony kit, designed with the DIY enthusiast in mind, exemplifies ease of installation without compromising on quality or safety. Geoff, who possesses competent DIY skills, found the assembly process straightforward. With a friend to assist, the balcony was secured in place, ready to offer an elegant outdoor space that not only enhances the home's aesthetic but also its value.
The success of Geoff’s installation underscores the practical design of our balcony kits. Each component is engineered for simplicity, ensuring that anyone with competent skills can follow the instructions to achieve a professional-looking finish. The kit includes all necessary fixtures and fittings, with clear labelling and a step-by-step guide that demystifies the installation process.
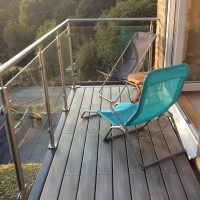
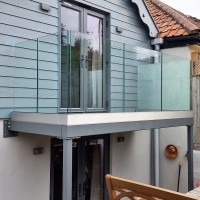
This exquisite walkout balcony is designed with a sleek anthracite grey RAL 7016 steelwork and base channels, complemented by a minimalist frameless glass balustrade that wraps around three sides. The thoughtful design ensures that nothing obstructs the expansive views of the garden and the rolling countryside beyond, allowing for an immersive natural experience.
Geoff's experience is a testament to the approachability of our DIY balcony kits. By collecting the kit directly from our workshop, he could see firsthand the quality of materials and craftsmanship that went into its production. The ease of transport to his home in Cambridge and the smooth installation process are just two of the benefits he enjoyed.
This balcony is not just a DIY project; it's an investment in the home's functionality and charm. It's a space to relax, entertain, and enjoy the outdoors, all made possible by the DIY-friendly design of our kits. Geoff's balcony is now a standout feature of his home, offering proof that with the right tools and a little effort, home renovation projects can be accessible to all.
For those considering a similar home improvement project, Geoff’s story serves as an inspiration. It shows that you don't need to be a professional to upgrade your living space – just a can-do attitude and a product designed with the consumer in mind. Our balcony kits are that product, bridging the gap between DIY ambitions and professional quality.
Wondering if you can install a balcony yourself? Absolutely! Our balcony kits are designed for ease of installation, yet they do require some basic trade skills that are easily transferable for any avid DIY enthusiast. Rest assured, each balcony is pre-assembled in our workshop to guarantee a perfect fit, making the installation process as smooth as possible. So with a few tools and a bit of know-how, you can confidently bring a touch of luxury and open-air freedom to your home and save the cost of installation. Likewise, any local builder should easily be able to install a DioMet walkout balcony system so if you are having other works completed, the balcony could form part of the works.
Questions? See our walkout balcony FAQ page
Balcony Installation Basics :
Step 1 : Set foundations- Using our set-out drawings, dig and set concrete footings to suit the post positions.
- Foundations are typically 600 x 600mm and should be allowed time to cure before the balcony installation.
Step 2 : Install the backplate- Centralise and level the backplate on the house wall and fully fix in place.
Step 3 :Assemble balcony structure- Bolt together the rest of the structure in accordance with the drawings. This should be assembled loose to start with then levelled and tightened up accordingly once all in place.
Step 4 : Install the decking- Most balconies are supplied with composite decking, pre cut to size. Lay out your decking and screw into place ensuring equal and even gaps between pieces.
Step 5: Install the balustrade- Screw the base channels to the ring beam using the pre-drilled and tapped holes. The glass can then be inserted and secured with the click-lock easy clamp system.
Step 6: Enjoy – Crack out the table and chairs, pot up a plant and enjoy your coffee or glass of wine as desired!
Dio-Met offer a range of walk-out balcony systems with some simple pricing structures- View our range of metal and glass walkout balconies online here : DioMet Balconies
See what Geoff, and our other customers have to say about our products and services : DioMet Testamonials
Contact us at 0114 243 9009 or sales@diometonline.co.uk for any walkout balcony queries
Please login to Comments

_walkout-balcony-frameless-balustrade.png)

